
Drywall Repair from Nail Holes to Fist-Sized Damage
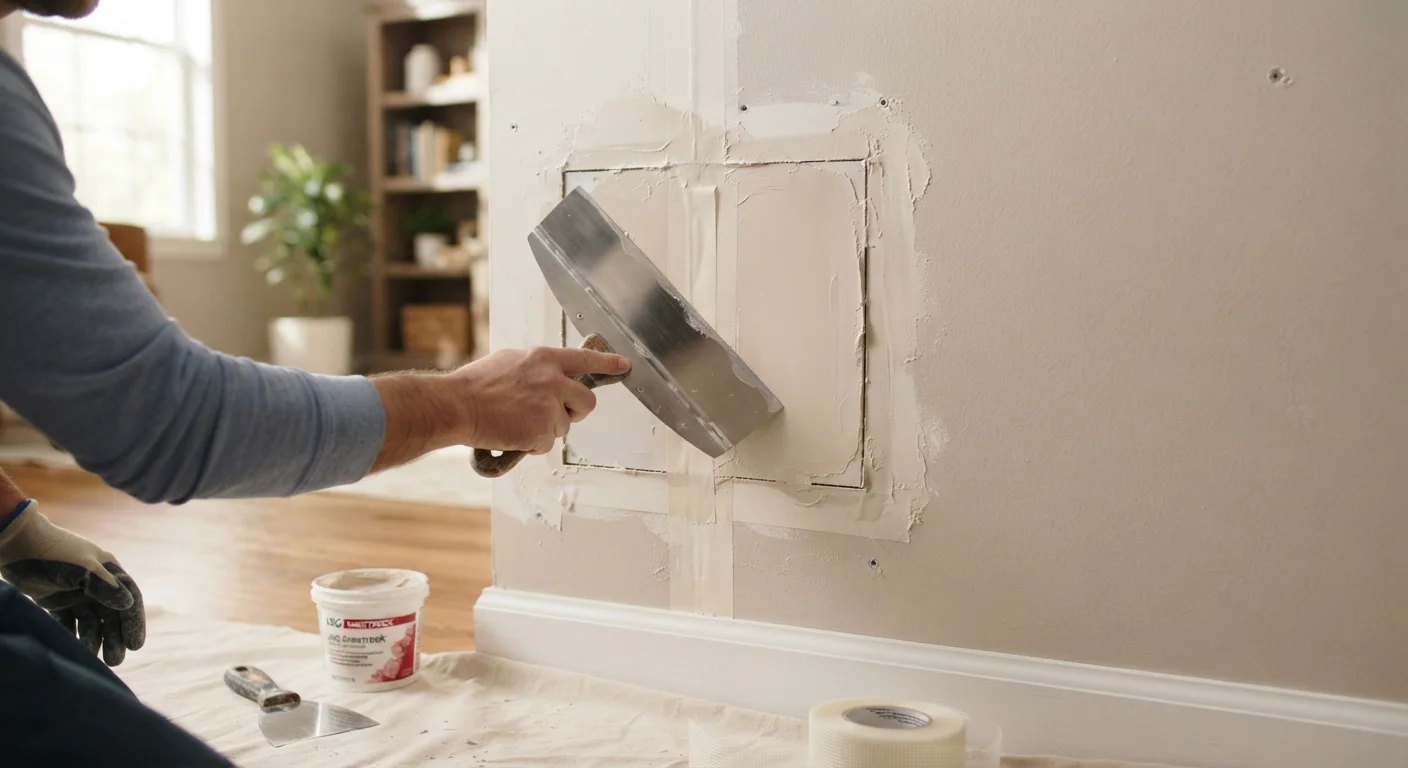
Photo credit: faqsnest.com
In this article
A practical walkthrough of patching drywall at every scale — from tiny holes to sections requiring a backing board.
Key Takeaways
- Nail holes and small dings require only spackle and a light sand — no special tools needed.
- Holes up to three inches can be bridged with self-adhesive mesh patches and joint compound.
- Larger damage requires a backing board before applying a replacement drywall piece.
- Most repairs need at least two thin coats of joint compound rather than one thick coat.
- Feathering compound edges is the key skill for patches that blend seamlessly after painting.
Understanding the Scale of Your Repair
Drywall damage ranges from pinhole-sized nail pops to gaping holes left by doorknobs, furniture impacts, or access panel cuts. The good news: virtually every common type of damage falls into one of three categories, each with a well-established fix. Choosing the right method upfront saves you from applying an undersized patch to a problem that needs structural reinforcement — or cutting open a wall unnecessarily for a hole a mesh patch would handle easily.
Before gathering materials, take stock of what you're working with. Inspect the surrounding wall for cracks radiating out from the damage, soft or water-stained gypsum, or damage that extends toward a corner or seam. These factors can change both the method and the scope of your repair.
What you will need
Tools and Materials You'll Need
Having the right supplies on hand before you start prevents mid-repair trips to the hardware store. The tools and materials you need scale with the size of the damage — a simple nail hole repair needs only a putty knife and spackle, while a fist-sized hole requires cutting tools, lumber, drywall, tape, and compound. Review the list below and set aside only what applies to your repair size.
Putty knife (3–6 inch)
Applies and smooths spackle or joint compound over small to medium holes.
Drywall knife (10–12 inch)
Feathers compound edges over a wide area on larger patches for a flush, invisible seam.
Self-adhesive mesh drywall patch
Bridges holes up to approximately three inches without requiring a backing board.
Drywall saw or utility knife
Cuts a clean, straight opening around larger damage and trims replacement drywall to size.
1×3 or 1×4 lumber (backing board)
Provides structural support behind the replacement drywall piece on fist-sized or larger repairs.
Drywall screws and screw gun
Fastens the backing board and replacement drywall panel securely to the wall.
Sanding sponge or 120-grit sandpaper
Smooths dried compound between coats and before priming.
Drywall primer-sealer
Seals the porous compound surface so topcoat paint absorbs evenly.
Match Your Compound to the Job
Lightweight spackle dries quickly and works well for small holes, but shrinks noticeably on patches larger than a quarter. For medium and large repairs, use all-purpose joint compound or a setting-type compound, which shrinks far less and sands to a smoother finish. Read the label: setting compound hardens by chemical reaction and cannot be rehydrated once mixed, so mix only what you need.
Step-by-Step Repair Instructions
Follow the steps below in sequence. Steps 2 and 3 cover small and medium holes respectively — if your damage is larger than three inches, continue through Steps 4 and 5 for the backing board method before moving to finishing. Steps 6 and 7 apply to all repairs that require joint compound.
Assess the damage and choose your method
Stand back and evaluate the hole honestly. Use these general size categories to select the right approach:
- Pinhole to pencil-width: Spackle only — no reinforcement needed.
- Quarter-sized to roughly 3 inches: Self-adhesive mesh patch plus joint compound.
- Larger than 3 inches (including fist-sized): Backing board method with a cut replacement piece.
Also check for any crumbling edges or soft, damp drywall around the damage. Soft or discolored drywall can indicate a moisture problem — address the source of moisture before patching or the repair will fail.
Repair nail holes and small dings with spackle
For tiny holes, the process is straightforward:
- Wipe the area clean and remove any loose paper or crumbles with a putty knife.
- Load a small amount of lightweight spackle onto the putty knife and press it firmly into the hole.
- Draw the blade across the surface at a low angle to remove excess and leave the surface nearly flush.
- Allow to dry fully — typically 1–2 hours for thin applications — then sand lightly with a fine sanding sponge until smooth.
- Wipe away dust, prime, and paint to match.
Patch medium holes with a mesh patch and joint compound
Self-adhesive mesh patches handle holes from roughly one to three inches without requiring you to cut the wall open further.
- Trim any frayed drywall paper or crumbled gypsum from the hole edges with a utility knife.
- Center the mesh patch over the hole and press firmly to adhere it to the surrounding wall surface.
- Using a 6-inch putty knife, spread a thin first coat of all-purpose joint compound over the mesh, working it into the openings and extending 2–3 inches beyond the patch edges.
- Let the first coat dry completely (usually overnight), then sand lightly.
- Apply a second, wider coat — feathering the edges out 4–6 inches — to build a gradual, invisible transition to the wall.
- Sand again when dry, prime, and paint.
Cut clean edges and install a backing board for large repairs
For holes larger than about three inches, you need solid backing behind the replacement drywall piece.
- Use a drywall saw or utility knife and a straightedge to square up the damaged area into a neat rectangle or square. Cut back to solid, undamaged material on all sides.
- Cut a piece of 1×3 or 1×4 lumber several inches longer than the opening's height.
- Slide the backing board into the opening and hold it centered behind the opening's edge.
- Drive drywall screws through the existing wall and into the backing board on each side of the opening to secure it. The board should sit tight against the back of the drywall, providing a nailing surface.
Cut and fasten the replacement drywall piece
Measure the opening precisely and transfer the dimensions to a piece of drywall of matching thickness — most interior walls use ½-inch drywall, though bathrooms sometimes use ⅝-inch moisture-resistant board.
- Score the front face with a utility knife using a straightedge, snap the piece away from you, then cut through the paper backing.
- Test-fit the piece in the opening; trim if needed.
- Drive drywall screws through the patch and into the backing board, spacing screws about 6 inches apart. Keep screw heads slightly dimpled below the surface, not punched through the paper face.
Tape the seams and apply joint compound
The seams between the patch and surrounding wall need paper or fiberglass tape to prevent cracking.
- Apply a thin bed coat of joint compound over each seam with a 6-inch knife.
- Press paper tape into the wet compound, smoothing from the center outward to remove bubbles, or press self-adhesive mesh tape directly over the seam before compounding.
- Skim a thin coat over the tape and let it dry fully.
- Apply a second wider coat, feathering 8–10 inches from each seam. A 10–12 inch drywall knife makes this step much easier.
- Sand smooth when dry, then assess: most repairs benefit from a third very thin skim coat before final sanding and priming.
Prime and paint the repaired area
Once the final coat is sanded smooth and all dust is wiped away:
- Apply a coat of drywall primer-sealer specifically to the repaired area. Allow it to dry per manufacturer directions.
- Inspect under raking light (a flashlight held at an angle close to the wall) to catch any remaining imperfections before painting.
- Touch up with compound if needed, let dry, and spot-prime again.
- Apply your finish paint. A roller generally blends better than a brush for texture matching on flat or eggshell finishes.
For an exact color match on existing walls, take a chip or an old paint can label to a paint counter for color matching rather than guessing from memory.
Common Mistakes and How to Avoid Them
Even straightforward drywall repairs go wrong when a few key principles are skipped. The most frequent issue is applying compound too thickly in a single pass. Joint compound shrinks as it dries, and a thick coat will crack or pull away from the mesh — thin coats, fully dried between applications, are always the right approach.
A second common mistake is sanding too aggressively. Over-sanding can cut through the paper face of the surrounding drywall, creating a fuzzy texture that absorbs paint differently and becomes visible after painting. Use moderate pressure and stop when the surface feels smooth to the touch.
Finally, skipping primer is the single most common reason a repair remains visible after painting. Joint compound is far more porous than cured drywall, and paint applied directly over it will look flat or chalky against the surrounding wall.
Don't Skip Primer Before Painting
Bare joint compound is highly porous and will absorb paint unevenly, causing a visible dull spot called a 'hot spot' even if the surface feels smooth. Always apply a drywall primer-sealer to the patched area before topcoating — this step is what makes repairs truly invisible after painting.

Author
Home & Garden Editorial Team
Home & Garden Editorial Team is the collective byline for our editorial team and contributor network. Articles published under this byline or an editorial pen name are researched, written, and reviewed according to our editorial standards for clarity, consistency, and independence before publication.
View all articles →