
Measuring and Marking for Accurate DIY Cuts and Fixings
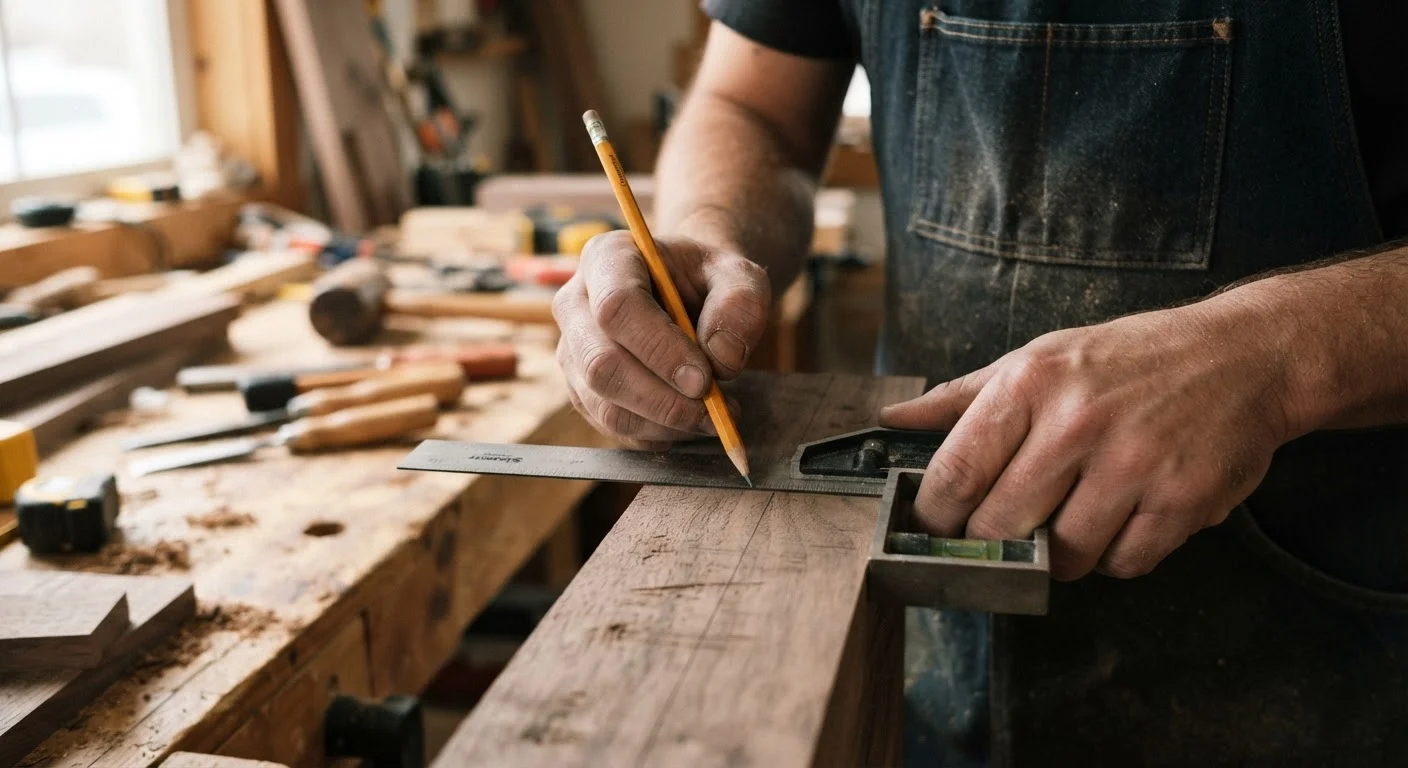
Photo credit: faqsnest.com
In this article
Accuracy starts before the saw or drill comes out. Learn the measuring and marking practices that experienced DIYers rely on.
Key Takeaways
- Measuring twice and marking clearly before any cut prevents costly material waste.
- Using the right marking tool for each material type dramatically improves accuracy.
- A square, a quality tape measure, and a sharp marking tool cover most DIY scenarios.
- Consistent reference edges eliminate compounding errors across multiple cuts.
- Marking the waste side of a line ensures cuts land exactly where intended.
Why Measurement Accuracy Makes or Breaks a Project
Most DIY mistakes don't happen at the saw or the drill — they happen before the tool is ever picked up. A measurement taken carelessly, a line marked with the wrong instrument, or a reference point that shifts partway through a job can cascade into gaps, misaligned fixings, and expensive rework. Understanding why precision matters helps you build the right habits from the start.
Timber, sheet materials, and tile are often unforgiving. Cut a board 5 mm too short and there's no fixing it. Drill a fixing hole 10 mm off-center and you may split the material or miss the stud entirely. Good measuring and marking practices don't require expensive tools — they require discipline, the right technique, and an understanding of how small errors compound over multiple steps. As one widely shared principle in the trades puts it: measure twice, cut once. That advice is sound, but it only works if both measurements are taken correctly.
For a broader look at where DIY effort pays off and where it quietly costs more, see our honest trade-offs guide.
Core Measuring and Marking Best Practices
The following practices are used consistently by experienced DIYers and tradespeople alike. Each addresses a specific failure point that commonly trips up beginners.
Always mark from a consistent reference edge on each workpiece.
Using different edges or ends as starting points across multiple marks introduces misalignment that accumulates quickly. A single, verified straight or square edge — called a datum — keeps every measurement in relation to the same origin point.
Mark the waste side of every cut line with a small 'X'.
Ambiguity about which side of a line to cut is a surprisingly common source of error. The saw kerf (the material removed by the blade) can eat into your finished dimension if you cut on the wrong side. A quick 'X' mark on the scrap portion removes all doubt.
Use a marking knife rather than a pencil for fine woodworking cuts.
A sharp pencil still produces a line 0.5–1 mm wide, which leaves room for interpretation. A marking knife severs wood fibers cleanly and produces a hairline reference — and the knife wall can act as a guide for chisel or saw placement.
Verify squares and levels before trusting them on a project.
A square that is slightly out of true will introduce a consistent error across every mark it produces. Squares drift over time from impact or wear, and should be checked periodically against a known straight edge.
Transfer measurements using a story rod instead of re-measuring repeatedly.
A story rod is a straight piece of timber or card on which all the key measurements for a project are marked directly. It eliminates the reading error that comes from squinting at tape-measure markings multiple times.
Double-check diagonal measurements to confirm square on frames and panels.
A rectangle that looks square to the eye can be a parallelogram by several millimetres. Measuring corner to corner diagonally in both directions reveals this instantly — equal diagonals confirm square.
Choosing the Right Tools for the Job
You don't need a workshop full of precision instruments. A reliable core kit handles the vast majority of home improvement tasks:
- Tape measure: Choose one with a wide, rigid blade of at least 25 mm — it holds its shape when extended without an assistant. Check that the hook moves slightly at the end; this is intentional and compensates for inside versus outside measurements.
- Combination square: A 300 mm combination square checks 90° and 45° angles, marks consistent depths from an edge, and can be used as a short ruler. It's one of the most versatile tools in the kit.
- Marking gauge: For woodworking, a marking gauge scribes a precise line parallel to an edge — far more repeatable than a pencil freehand.
- Sharp pencil or marking knife: A blunt pencil creates a line 1–2 mm wide, introducing ambiguity. Keep pencils sharp or use a knife for fine work on wood. On dark materials or metal, a silver pencil or scribe works better.
- Spirit level: Essential for confirming plumb (vertical) and level (horizontal) before fixing shelves, frames, or tiles.
Avoid using a worn or kinked tape measure — the hook and blade can both introduce consistent errors that accumulate across a project. Replace tools that show signs of wear.
Label Your Measurements on the Material
When working with multiple pieces that have different dimensions, write the measurement directly on the workpiece in pencil alongside the cut line. This prevents you from confusing pieces mid-project, especially if you step away and return later. Erase or plane off the marks after cutting for a clean finish.
For broader project planning guidance, including sequencing your work and knowing when to bring in a professional, our home improvement planning guide walks through the full process from first idea to final finish.
Common Marking Mistakes and How to Avoid Them
Even careful DIYers fall into a few recurring traps. Being aware of these makes it easier to avoid them:
- Measuring from an uneven end
- Factory edges on timber and sheet goods are often not perfectly square. Always check the end of a board with a square before using it as a reference, or trim it first to create a true edge.
- Cumulative measurement errors
- When marking multiple pieces, measuring each one from scratch using the same tape keeps errors independent. Measuring piece B from the end of piece A chains measurements together and compounds any inaccuracy.
- Misreading the tape at an angle
- Parallax error — reading a measurement from a slight angle — can introduce 1–2 mm of error. Position your eye directly above the measurement point.
- Ignoring the kerf
- A saw blade removes material as it cuts. This removed width is called the kerf. Always mark and cut to the waste side of your line so the finished piece retains its full dimension.
It's also worth noting that some home improvement assumptions about tools and materials are surprisingly wrong. Our article on home improvement myths is a useful reality check before starting any new project.
Quick Wins to Improve Accuracy Today
If you want to see an immediate improvement in your results, start with these high-impact actions before your next project:

Author
Home & Garden Editorial Team
Home & Garden Editorial Team is the collective byline for our editorial team and contributor network. Articles published under this byline or an editorial pen name are researched, written, and reviewed according to our editorial standards for clarity, consistency, and independence before publication.
View all articles →