
Grout Haze, Hollow Tiles, and Other Tiling Pitfalls Worth Knowing Before You Start
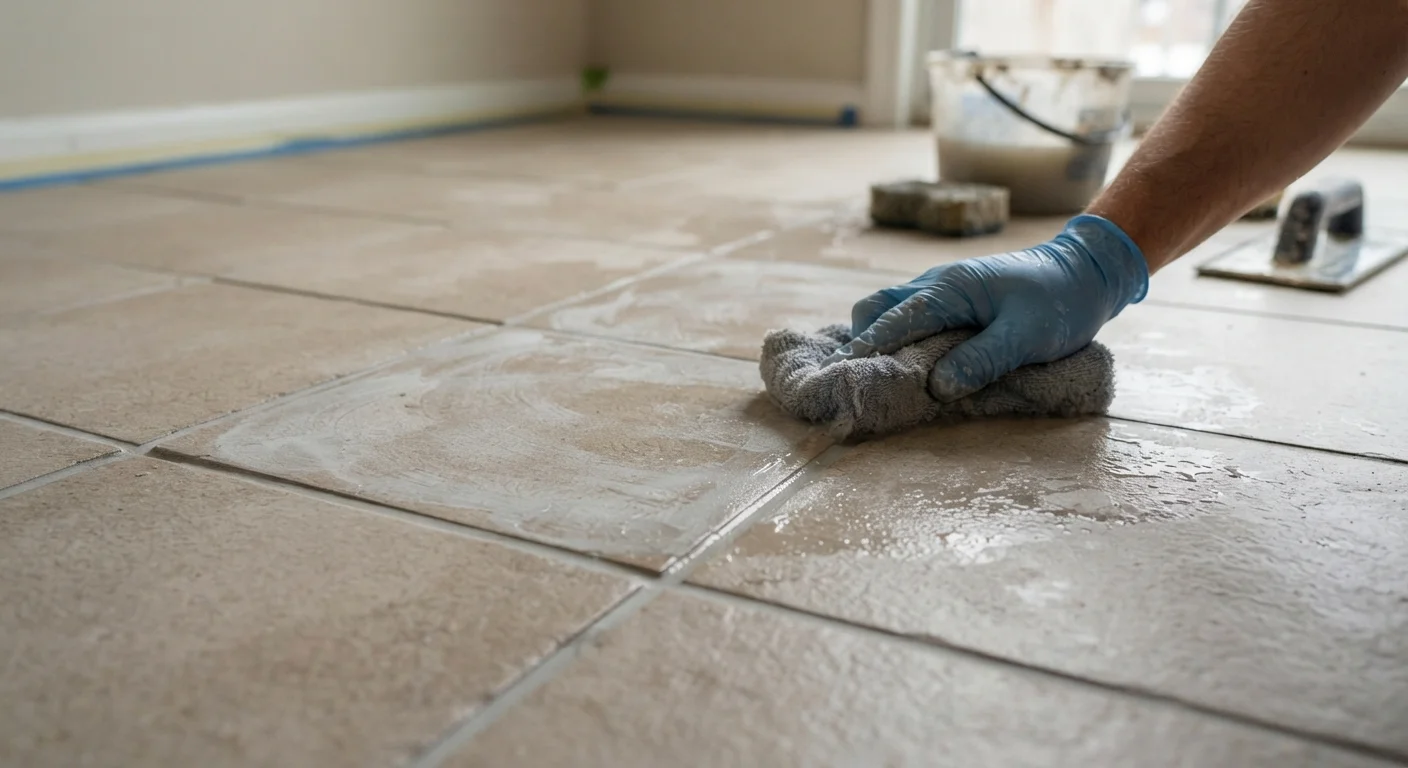
Photo credit: faqsnest.com
In this article
Tiling errors are often invisible until the job is done. Learn what goes wrong, why it happens, and how to prevent it.
Key Takeaways
- Skipping surface prep is the single most common reason tiles crack or detach over time.
- Grout haze hardens fast — clean it within the correct window or risk permanent staining.
- Hollow-sounding tiles indicate poor adhesive coverage and will eventually fail under foot traffic.
- Layout planning before the first tile goes down prevents awkward cuts at the most visible edges.
- Expansion gaps at perimeter edges are not optional — omitting them causes tiles to lift or crack.
Why Tiling Mistakes Are So Easy to Make
Tiling sits in a frustrating middle ground for DIYers: it looks achievable, the basic tools are accessible, and the steps seem logical. Yet the results are often unforgiving. Unlike painting, where a second coat can rescue most errors, tiling problems frequently lock themselves in — sometimes invisibly — until the floor cracks under load or the backsplash starts lifting at a corner six months later.
Most tiling failures don't stem from poor craftsmanship. They come from skipped steps that seem optional in the moment: a surface that feels solid enough, a layout that looks fine from a distance, an adhesive that was spread a little too thin. Understanding why these shortcuts fail is far more useful than a simple checklist, because it gives you the judgment to adapt when real conditions don't match the instructions on the bag.
Before your next tiling project — whether a bathroom floor, a kitchen backsplash, or an entryway — it's worth understanding the mistakes that trip up experienced DIYers and first-timers alike. For broader context on planning your project from the ground up, see our home improvement planning guide.
The Most Common Tiling Mistakes — and How to Avoid Them
The following mistakes span the full process, from prep through finishing. Each one is fixable in advance; most are very difficult to fix once the tiles are set.
Failing to prepare the substrate properly before laying tiles.
Why it happens: Substrate prep is invisible once tiling is complete, so it's tempting to skip or rush it when a surface looks solid or clean enough to the eye.
Spreading adhesive too thinly or with the wrong trowel notch size, leaving air voids beneath tiles.
Why it happens: Trowel notch size recommendations are often ignored because the adhesive appears to cover the tile back when pressed down. In practice, insufficient coverage leaves hollow spots.
Skipping a dry layout before committing adhesive, resulting in awkward cuts at the most visible edges.
Why it happens: Dry-laying feels like extra work. Many DIYers measure from one wall and start tiling, assuming the math will work out.
Allowing grout haze to dry on the tile surface before cleaning it thoroughly.
Why it happens: Grout haze forms quickly as the water in grout evaporates, and many people wait too long after grouting before wiping down. Once hardened, the calcium compounds in the haze bond stubbornly to tile glazing.
Omitting expansion gaps at perimeter edges and between tile fields.
Why it happens: Expansion gaps look like an unfinished edge and are often seen as something to hide rather than a deliberate structural requirement.
Using interior adhesive in wet areas or selecting the wrong adhesive class for the tile type.
Why it happens: Adhesive products look similar and the technical specifications are easy to overlook, especially when a retailer's staff member makes a general recommendation.
One underappreciated finishing mistake involves the perimeter seal. Many DIYers grout all the way into the corner where a tiled wall meets a floor or bath edge — but that joint needs flexible sealant, not grout. Grout is rigid and will crack as the structure moves slightly with temperature and load. For a deeper look at choosing the right product for that joint, see our guide to caulk vs. sealant. And if you've already tiled a shower or bath surround, this article on silicone failures explains why that edge keeps peeling and what to do differently.
Finishing Well: The Details That Define the Result
The final stages of tiling — grouting, cleaning, and sealing — receive less attention than the laying process but often determine how the finished work looks and holds up. Rushing them is one of the most common ways a competent tile job ends up looking amateur.
Don't Regrout Over Existing Grout Without Assessing Adhesion
Applying fresh grout on top of existing grout is rarely a lasting fix. If the underlying grout is crumbling, cracked, or discolored from mold penetration, the cause is usually moisture or structural movement — neither of which a surface application will address. Remove loose or failing grout with a grout rake or oscillating tool before regrouting, and investigate whether there is an underlying waterproofing or movement issue driving the failure.
Allow grout to cure fully before exposing it to water or heavy foot traffic. Curing time varies by product type and ambient conditions — check the manufacturer's guidance, but plan for at least 24 to 72 hours of protection. Sealing porous grout (especially in wet areas) after curing adds meaningful longevity and makes routine cleaning far easier.
It's also worth flagging a broader pattern here: tiling mistakes belong to a wider category of DIY missteps driven by assumptions rather than evidence. If you've encountered confident advice that didn't hold up, our article on home improvement myths separates durable guidance from folklore that costs homeowners real money.
95%+
Recommended adhesive coverage under each tile
Industry tiling standards generally specify a minimum of 95% adhesive contact for tiles in wet areas and on floors subject to regular foot traffic.
3mm
Maximum acceptable floor flatness deviation
Most tile installation guidelines call for a substrate that is flat to within approximately 3mm measured over a 1.8-meter straight edge before tiling begins.

Author
Home & Garden Editorial Team
Home & Garden Editorial Team is the collective byline for our editorial team and contributor network. Articles published under this byline or an editorial pen name are researched, written, and reviewed according to our editorial standards for clarity, consistency, and independence before publication.
View all articles →