
Why Silicone Around Your Bath Keeps Failing — and What to Do Differently
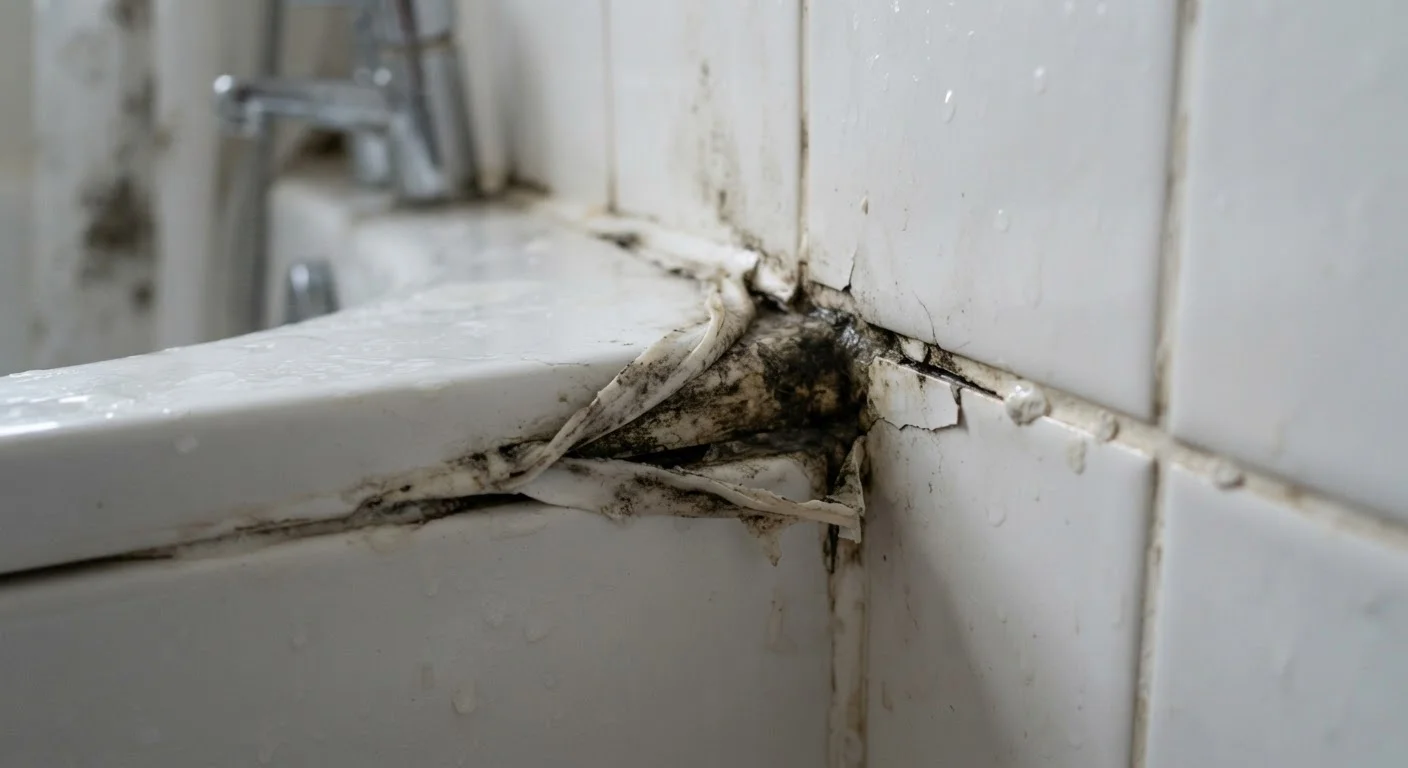
Photo credit: faqsnest.com
In this article
Mould, peeling, and cracking silicone are rarely random. Understand the root causes and how to apply it so it lasts.
Key Takeaways
- Surface preparation — not product quality — is the most common reason bath silicone fails prematurely.
- Applying silicone over old residue or damp surfaces virtually guarantees early peeling or mould growth.
- Filling the bath with water before sealing compensates for flex and prevents cracking after the first use.
- Sanitary-grade silicone with built-in fungicide is the correct product for wet bathroom environments.
- Most re-sealing jobs last five or more years when the surface is properly cleaned, dried, and primed.
Why This Problem Keeps Coming Back
If you've re-applied silicone around your bath more than once in the past few years, the problem almost certainly isn't the silicone itself — it's the conditions it was applied under. Bath sealant sits at the intersection of heat, steam, standing water, and constant mechanical movement every time someone climbs in or out. That's a punishing environment, and any shortcut during application will be exposed within months.
The good news is that most failures follow recognisable patterns. Once you understand why the seal breaks down, you can address the root cause rather than just re-applying on top of a problem that hasn't gone away. This article walks through the most common mistakes and how to fix them for good.
If you're unsure whether silicone is even the right material for your gap in the first place, our guide to caulk vs sealant explains which product suits which situation before you start.
The Mistakes That Cause Early Failure
The errors below account for the vast majority of premature silicone failure in domestic bathrooms. Each one is fixable — and most are easy to avoid once you know what to look for.
Skipping thorough removal of old silicone before applying fresh product.
Why it happens: Old silicone looks like a minor issue, and scraping it out feels time-consuming. Many people apply a new layer over the top hoping it will bond to the old material.
Applying silicone to a damp or insufficiently dry surface.
Why it happens: Bathroom surfaces are rarely truly dry. After cleaning, many people wait only a few minutes before applying, assuming the surface looks dry enough.
Using the wrong type of silicone — particularly a general-purpose product instead of a sanitary-grade one.
Why it happens: General-purpose silicone is widely available and often cheaper. Without knowing the difference, it's easy to pick up the wrong tube.
Sealing the bath while it is empty.
Why it happens: This is one of the least intuitive steps and is rarely mentioned on product packaging. The natural assumption is to seal a clean, empty bath.
Failing to degrease the surface before application.
Why it happens: Soap residue, hard water mineral deposits, and body oils are invisible once dry but create a barrier between the silicone and the substrate.
It's also worth noting that some of these issues — particularly chronic mould and persistent peeling — are sometimes misattributed to the silicone brand rather than technique. Our article on home improvement myths covers a number of these assumptions that cost homeowners time and money.
Getting the Application Right
Once surfaces are properly prepared and the right product is selected, application technique makes the difference between a clean, lasting seal and one that lifts within weeks.
Cut the nozzle at a shallow angle
A 30–45 degree cut on the cartridge nozzle gives you a bead that can be pressed firmly into the joint rather than sitting on top of it. The opening should be slightly narrower than the gap you're filling — you can always widen it, but you can't narrow a cut you've already made.
Apply in a single, continuous pass
Starting and stopping mid-joint creates weak points. Move at a consistent pace, keeping light forward pressure on the gun. If you're new to this, practice on a piece of cardboard first.
Tool it immediately
Silicone skins over quickly, especially in warm rooms. Within a minute or two of applying a section, wet your finger or a dedicated finishing tool and draw it smoothly along the bead in one direction. This presses the material into the joint and creates a concave surface that sheds water rather than collecting it.
Protect it during cure
Keep the bathroom well-ventilated but avoid saturating the fresh silicone with steam or splashing water. Most sanitary silicones reach a surface cure within two hours but need 24–48 hours before the bath should be used normally. Drain the bath after the curing period is complete.
Don't Rush the Cure Time
Using the bath before silicone has fully cured is one of the fastest ways to compromise a fresh seal. Steam and standing water interfere with the curing process and can prevent proper adhesion at the joint edges. Even if the surface feels dry to the touch within a few hours, allow the full manufacturer-stated cure period — usually 24–48 hours — before running a bath.
If you've also recently retiled the surrounding area, it's worth reading about common tiling pitfalls — hollow tiles and unstable grout joints can undermine even perfect silicone work if the substrate isn't sound.

Author
Home & Garden Editorial Team
Home & Garden Editorial Team is the collective byline for our editorial team and contributor network. Articles published under this byline or an editorial pen name are researched, written, and reviewed according to our editorial standards for clarity, consistency, and independence before publication.
View all articles →