
The Weekend Wall Refresh: Preparing, Priming, and Painting Interior Walls Properly
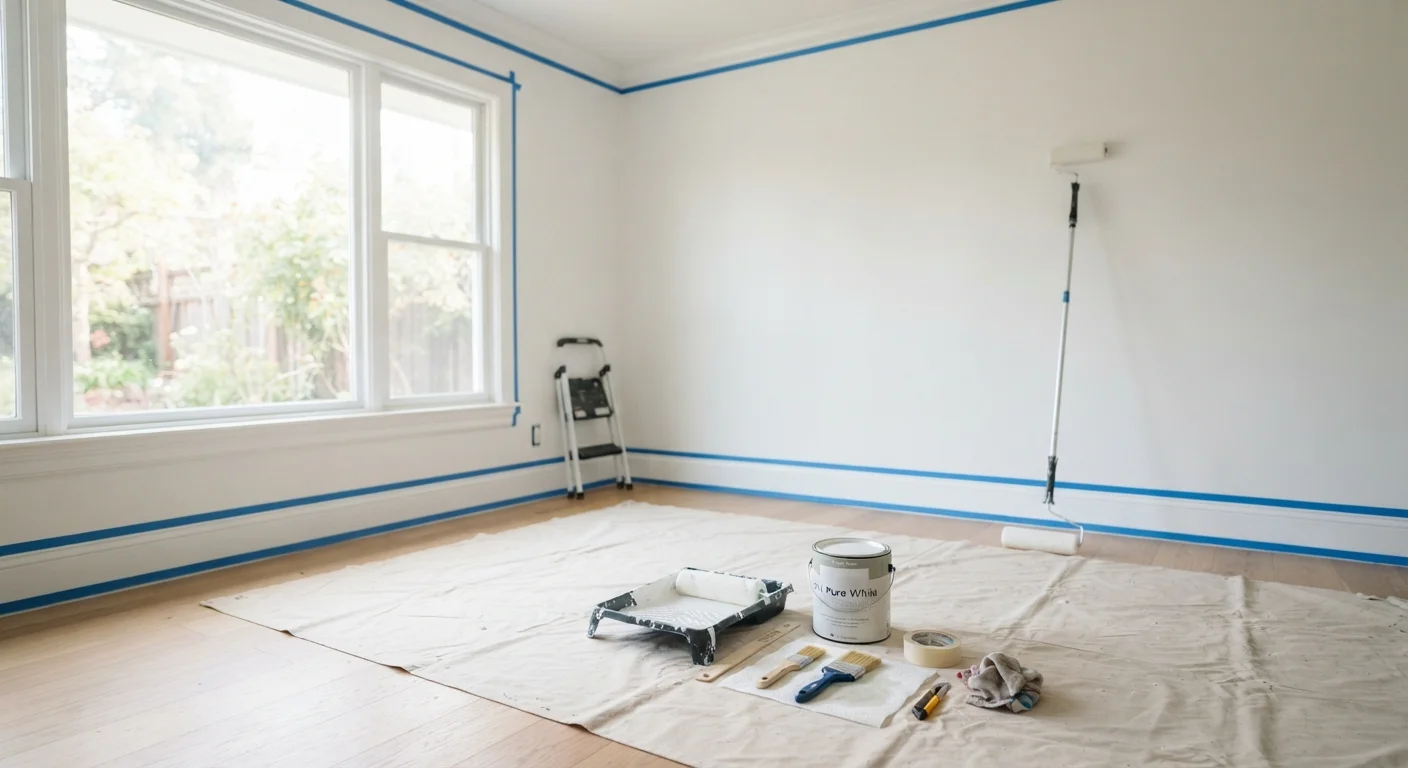
Photo credit: faqsnest.com
Proper prep separates a lasting paint job from one that peels. Follow this sequence for clean, even interior walls.
Key Takeaways
- Surface preparation — cleaning, patching, and sanding — determines how long paint lasts.
- Primer is not optional when switching colors dramatically or painting over repairs.
- Cutting in edges before rolling prevents lap marks and visible brush strokes.
- Two thin coats of paint always outperform one heavy coat for coverage and durability.
- Ventilation and dry time between coats are just as important as technique.
Why Preparation Determines the Outcome
Most paint failures — peeling, bubbling, uneven sheen, and visible patches — trace back not to the paint itself but to what happened before the first coat was applied. A wall that looks smooth to the naked eye often carries dust, grease, or micro-texture from old repairs that telegraphs straight through paint. Skipping or shortcutting the prep sequence is the single most common reason a weekend paint job looks noticeably amateur within a year.
The good news is that preparation is learnable, low-risk, and requires no specialized skill — only patience and the right sequence. This guide walks through every stage from cleaning to final coat, including when primer is genuinely necessary and how to apply paint in a way that avoids lap marks and roller texture. If you're still deciding on a color or finish, our paint finish guide covers how sheen interacts with light and room size before you buy.
Choosing the Right Finish Matters
The sheen level you choose affects both appearance and cleanability — not just aesthetics. Eggshell and satin finishes are practical for living areas because they wipe clean without sacrificing too much depth. Before you buy, read our guide to paint finishes and light to match sheen to the room's function and lighting conditions.
Before starting, gather your tools and set up the room properly. Here is what you will need:
Angled sash brush (2–2.5 inch)
Used for cutting in edges along trim, corners, and ceiling lines where a roller cannot reach.
9-inch paint roller with extension pole
Applies paint efficiently and evenly across large flat wall surfaces.
Roller tray and liner
Holds paint at the correct depth for loading the roller evenly without excess dripping.
Spackling compound and putty knife
Fills nail holes, dents, and minor cracks before priming and painting.
120- and 150-grit sandpaper or sanding sponge
Smooths patched areas and scuffs existing paint to improve adhesion.
Primer (water-based or shellac-based)
Seals repairs and provides a uniform base that improves paint adhesion and color accuracy.
Tack cloth or damp microfiber cloth
Removes dust from sanded areas so it doesn't become embedded in the finish.
Paint can opener and mixing stick
Opens cans safely and stirs settled pigment back into suspension before use.
With your room prepped and tools assembled, verify these prerequisites are in place before beginning:
What you will need
Step-by-Step: From Bare Wall to Finished Room
Follow these steps in order. Each stage builds on the previous one — starting a new step before the prior one is complete is the most common cause of visible defects in the final finish.
Clean the walls thoroughly
Grease, dust, and residue from everyday living create an invisible barrier that prevents paint from bonding. Wash walls from top to bottom using a diluted solution of dish soap and warm water, then rinse with clean water and allow the surface to dry completely — at least one hour. Pay particular attention to kitchen walls, areas above radiators, and spots near light switches where oils and grime concentrate.
Repair holes, cracks, and imperfections
Apply lightweight spackling compound to nail holes, small dents, and hairline cracks using a flexible putty knife. Press the compound firmly into the void, overfill slightly, and scrape flush in a single smooth stroke. For cracks wider than about 1/8 inch, use a mesh tape and joint compound approach — thin layers dried fully between applications. Allow all repairs to cure per the product instructions before sanding.
Sand repaired areas smooth
Once patches are fully dry, sand each repair with 120-grit sandpaper to knock down the high spots, then finish with 150-grit to blend the edges into the surrounding wall. Sand lightly in a circular motion rather than long straight strokes to avoid creating visible scratches. Feather the edges of each patch so there is no detectable ridge where the repair meets bare drywall.
Remove dust and apply painter's tape
Wipe down all sanded areas with a tack cloth or lightly dampened microfiber cloth to remove dust. Allow the surface to dry, then run painter's tape along baseboards, window casings, door trim, and the ceiling line. Press the tape edge down firmly with a putty knife or your fingernail to prevent paint from bleeding underneath. Remove any outlet and switch covers and store their screws safely.
Prime the walls where needed
Primer is non-negotiable in three scenarios: over fresh drywall or repairs, when making a dramatic color change (especially going lighter over a dark color), and when painting over stains or glossy surfaces. Apply primer with the same cut-in-then-roll sequence you'll use for your finish coat. One even coat is typically sufficient. Allow it to dry fully — consult the product label — before painting.
Cut in the edges with a brush
Load your angled sash brush about one-third of the way up the bristles and tap off excess against the inside of the can — do not wipe, which removes too much paint. Paint a band roughly two to three inches wide along all edges: ceiling line, corners, and trim. Use slow, controlled strokes and keep a wet edge to avoid hard lines. Complete all cutting in for the entire wall before rolling.
Roll the walls in a consistent pattern
Load the roller fully and distribute paint evenly by rolling a W or M pattern across a roughly three-foot section, then fill in with parallel strokes without lifting the roller. Maintain a wet edge by overlapping each pass slightly before the previous section dries. Work from top to bottom and from the cut-in edge outward. Apply two thin coats rather than one thick one — allow the first coat to dry completely before assessing and applying the second.
Remove tape and evaluate the finish
Remove painter's tape while the final coat is still slightly tacky — not wet, not fully cured. Pull the tape back at a 45-degree angle slowly and steadily. If paint has bled under the tape, score the edge lightly with a utility knife before pulling to get a clean line. Once tape is removed, examine the walls in raking light (a flashlight held at a low angle) to spot any thin spots, drips, or missed areas that need touching up.
Older Homes and Lead Paint Risk
Homes built before 1978 may have walls painted with lead-based paint. Sanding or scraping lead paint releases hazardous dust. If your home predates 1978 and paint is peeling or you are uncertain of its history, have the surface tested before disturbing it. Contact your local health department or a certified lead inspector for guidance — do not proceed with sanding until you know what you are working with.
Ventilation Is Not Optional
Even low-VOC interior paints require adequate airflow during and after application. Open windows and run a fan to exhaust air out of the room while painting and for several hours afterward. Prolonged exposure to paint fumes in a sealed space can cause dizziness, headaches, and respiratory irritation. Keep children and pets out of freshly painted rooms until they are fully aired out.
Once the room is complete and the paint has cured — typically 24 to 48 hours for water-based paints, longer in humid conditions — you can rehang artwork, reinstall outlet covers, and move furniture back. A freshly painted room is also an ideal moment to reconsider layout and accessories; our room-by-room design checklist is a useful companion for that next step. If you want to go further and understand the principles behind why certain design choices work, fourteen foundational design concepts offers a grounded starting point before your next project.

Author
Home & Garden Editorial Team
Home & Garden Editorial Team is the collective byline for our editorial team and contributor network. Articles published under this byline or an editorial pen name are researched, written, and reviewed according to our editorial standards for clarity, consistency, and independence before publication.
View all articles →