
A Room-by-Room Design Checklist for First-Time Decorators
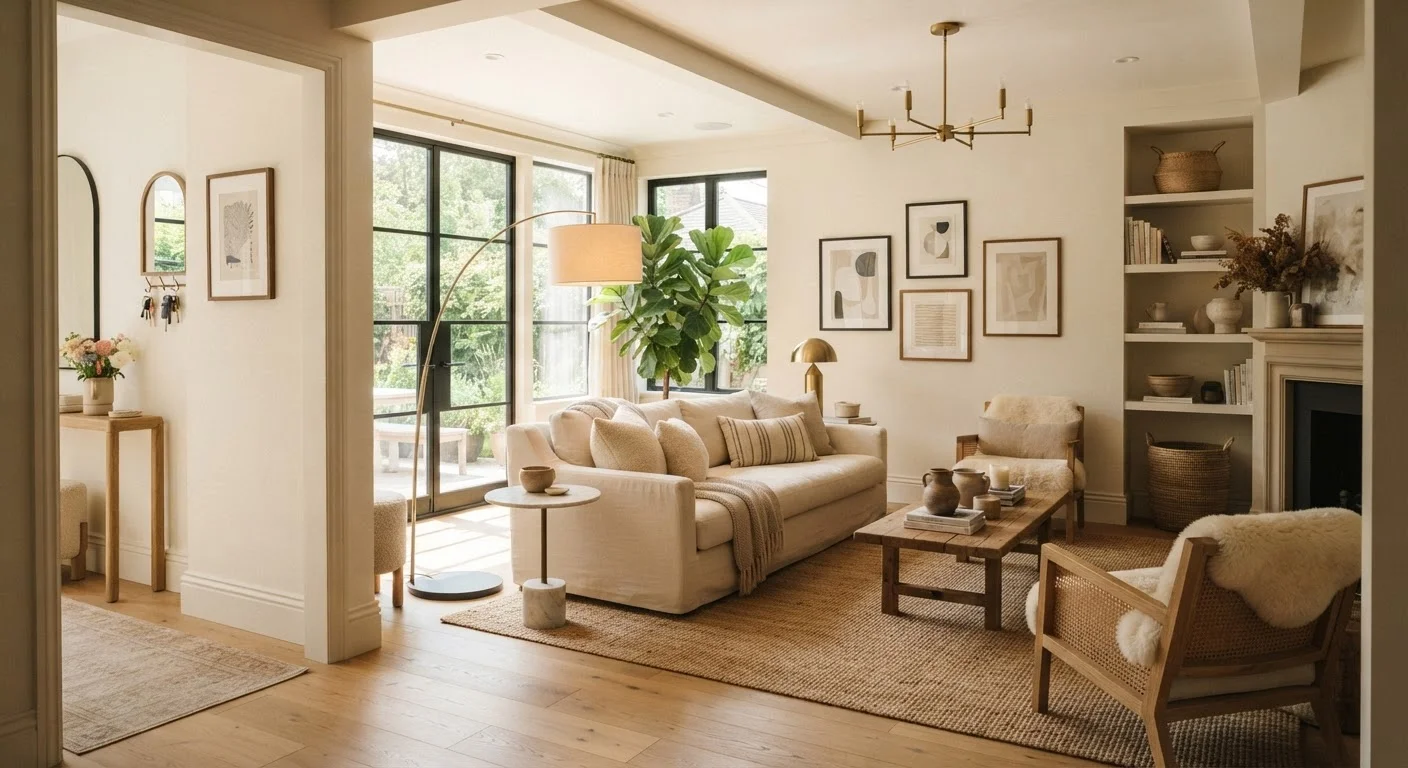
Photo credit: faqsnest.com
In this article
Use this checklist to work through each room methodically — covering layout, lighting, storage, and finishing details.
Key Takeaways
- Start with layout and lighting decisions before buying any furniture or décor.
- Each room has a primary function — design choices should reinforce that purpose first.
- Storage, scale, and light layering are the three factors most often overlooked by first-time decorators.
- A consistent approach applied room by room produces cohesion across an entire home.
- Renters and homeowners can both use this checklist — many items require no permanent changes.
Why a Room-by-Room Approach Works
Decorating an entire home at once is one of the most common traps first-time decorators fall into. The result is often a collection of individual purchases that don't relate to each other — and a budget that evaporates before the most-used rooms are finished. A structured, room-by-room method changes that dynamic.
Before picking a single paint color or sofa, it helps to understand the principles that make rooms feel considered rather than random. If you haven't explored those ideas yet, design concepts worth understanding before you redecorate provide a solid foundation — covering everything from visual weight to negative space. For a broader project overview, home improvement planning from first idea to final finish walks through budgeting and sequencing before a single item is purchased.
This checklist organizes decisions into logical categories: layout, lighting, storage, and finishing details. Work through each group for every room rather than decorating by instinct alone.
Measuring tape (25 ft)
Measure room dimensions, furniture footprints, and wall widths accurately before making any layout or purchase decisions.
Graph paper or free floor plan app
Sketch to-scale room layouts to test furniture arrangements without physical trial and error.
Paint sample cards or peel-and-stick swatches
Test color choices at large scale in actual room lighting before committing to a full paint purchase.
Level and stud finder
Hang artwork, shelving, and curtain rods securely and at correct heights.
Painter's tape
Map out furniture footprints and wall art placements on the floor and walls before committing to positions.
Furniture leg pads and non-slip rug pads
Protect floors and keep rugs and furniture in place once the layout is finalized.
How to Use This Checklist
Treat each room as its own project with a defined purpose. A bedroom is first a place for sleep and rest; a kitchen is primarily a workspace. Every design decision — furniture scale, lighting placement, color saturation — should serve that primary function before addressing aesthetics.
For renters working with restrictions, renter-friendly upgrades and what tenants can change outlines which items on this checklist can be implemented without landlord approval. For a comprehensive design walkthrough, interior design end to end from empty room to finished space covers the full process in depth.
Work room by room — complete each group of checks before moving on. Flag items that require a trade or permit (electrical work, structural changes) and handle those separately with qualified professionals.
Layout & Furniture Placement
Lighting Layers
Storage & Organization
Color & Material Choices
Window Treatments & Natural Light
Finishing Details & Accessories
Finishing the Room: Details That Pull It Together
Once layout, lighting, and storage are addressed, finishing details account for roughly 20% of design decisions but deliver a disproportionate share of perceived quality. This includes trim choices, textile layering, artwork scale, and plant placement.
Scale is especially important: artwork hung too small on a large wall, or a rug that doesn't extend under at least the front legs of a sofa, signals an incomplete room. For furniture decisions specifically, furniture arrangement from scratch covers focal points and traffic flow in practical detail.
After working through each room's checklist, step back and assess the home as a connected sequence of spaces. Consistent flooring, a recurring accent color, or a shared material (such as matte black hardware repeated across rooms) creates cohesion without requiring identical styles. Ongoing maintenance keeps the work looking its best — seasonal home maintenance checks is a useful companion resource for that.
Electrical and Structural Work Requires a Professional
Adding recessed lighting, moving outlets, or opening walls to create storage niches are tasks that typically require permits and licensed trades in most US jurisdictions. Do not attempt to modify electrical wiring or structural elements yourself. Always verify local permit requirements with your local building department before beginning any work that goes beyond cosmetic changes.
Don't Rush the Finishing Stage
Accessories and art purchased all at once — especially under time pressure — often result in a mismatched look. Give yourself several weeks after the major furniture is placed to source finishing pieces gradually. A partially finished room is far easier to correct than one filled with items that need to be returned or replaced.

Author
Home & Garden Editorial Team
Home & Garden Editorial Team is the collective byline for our editorial team and contributor network. Articles published under this byline or an editorial pen name are researched, written, and reviewed according to our editorial standards for clarity, consistency, and independence before publication.
View all articles →