
Furniture Arrangement from Scratch: A Practical Starting Point
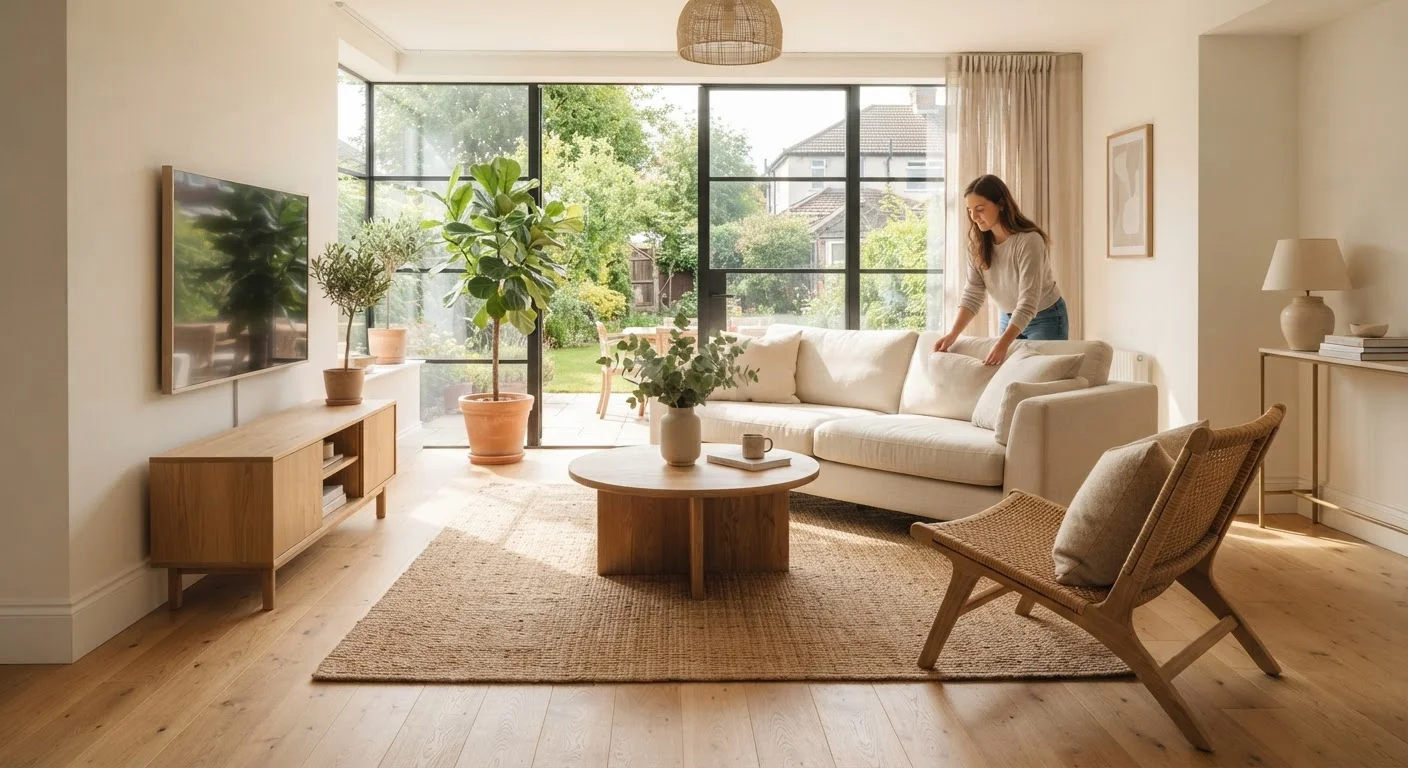
Photo credit: faqsnest.com
In this article
Walk through the core decisions — traffic flow, focal points, scale — that shape a functional, comfortable furniture layout.
Key Takeaways
- Identify your room's focal point before placing a single piece of furniture.
- Traffic flow — clear pathways of at least 30–36 inches — should guide your layout decisions.
- Scale matters: oversized or undersized furniture throws off a room's proportion and function.
- Floating furniture away from walls often creates a more balanced, connected arrangement.
- A floor plan sketch saves time and prevents heavy lifting during the trial-and-error phase.
Before You Move Anything: Understand the Room First
Jumping straight to pushing sofas around is tempting, but the most efficient approach starts with observation. Take stock of what your room already gives you — and what it's working against.
Begin by identifying the room's focal point: the architectural or visual feature that naturally draws the eye. In many living rooms this is a fireplace, a large window with a view, or a prominent accent wall. In a bedroom it's almost always the bed wall. Every other piece of furniture should orient toward or complement that anchor, not compete with it.
Next, locate all fixed elements: doors, windows, electrical outlets, light switches, HVAC vents, and any built-ins. These are non-negotiable constraints that will shape what's possible. Note which walls receive natural light at different times of day — this affects where you place seating for reading, work, or conversation.
Finally, measure the room carefully. Width, length, and ceiling height all matter. Sketch a simple floor plan on graph paper (or use a free room-planner app) with each square representing one foot. This step alone prevents the frustration of maneuvering a sectional into a space it doesn't fit. For a deeper look at design decisions from the ground up, see our end-to-end interior design guide.
What you will need
The Core Layout Principles to Apply Step by Step
With your room mapped out, work through these decisions in order. Each one sets the conditions for the next.
Anchor the largest piece to the focal point
Place your room's dominant furniture piece — typically a sofa in a living room or the bed in a bedroom — facing or parallel to the focal point you identified. This establishes the room's visual axis. Avoid angling large pieces unless the room's geometry makes a diagonal arrangement clearly necessary.
Map your traffic pathways
Identify the natural routes people will walk through the space: entry to seating, seating to kitchen, bedroom to bathroom. Mark these on your floor plan. Pathways through primary circulation areas should be at least 36 inches wide; secondary routes (between a coffee table and sofa, for example) can narrow to about 18 inches while remaining comfortable.
Position secondary seating and surfaces
Add accent chairs, side tables, and supporting pieces next, working outward from your anchor piece. Each seat should have reasonable access to a surface for a drink or lamp. Side tables should sit within easy arm's reach — roughly the same height as the sofa or chair arm beside them.
Place the rug to define the zone
In open-plan spaces or larger rooms, a rug visually defines a furniture grouping and ties pieces together. The rug should be large enough for all front legs of seating pieces to rest on it — or for all legs to sit fully on it in smaller groupings. A rug that's too small floats beneath the coffee table and makes the arrangement look disconnected.
Test the arrangement before committing
Walk every pathway, sit in every seat, and simulate how you'll actually use the room — reading, watching TV, hosting, working. Adjust any piece that interrupts flow or feels awkward in practice. It's far easier to shift furniture now than after styling and decorating are complete.
Once your primary arrangement is in place, step back and assess conversation distance. Seats should be close enough for easy talking — generally within 8 feet of one another — without feeling cramped. If your layout passes the conversation test and the traffic flow test simultaneously, you're in good shape.
Working with a compact space? Many of these same principles apply but with additional strategies for visual expansion. Our guide on making small living rooms feel larger covers layout tactics specific to tighter footprints.
Common Mistakes and How to Avoid Them
Even with good intentions, a few recurring errors derail otherwise solid layouts.
- Pushing everything against the walls. This is the most widespread mistake in furniture arrangement. It creates a disconnected, waiting-room feel. Pull seating inward and use a rug to anchor the grouping — the room will feel more intimate and intentional immediately.
- Ignoring scale. A loveseat in a generously sized room looks lost; an oversized sectional in a narrow space suffocates it. Use your floor plan to test proportions before committing. A piece of furniture should be roughly two-thirds the length of the wall or surface it faces — a common rule of thumb for visual balance.
- Blocking natural light. Placing tall furniture in front of windows cuts off light and makes a room feel smaller. Reserve window walls for low-profile pieces whenever possible.
- Forgetting negative space. Empty floor area is not wasted space — it's breathing room. A room packed with furniture feels chaotic, not full. Aim for visual rest between groupings.
Label Your Floor Plan as You Go
As you finalize each piece's position, mark it on your sketch with dimensions. This gives you a reference document you can revisit whenever you want to refresh the room without starting from scratch. It's also invaluable if you move or add furniture later.
Once you've nailed your layout fundamentals, the next layer of design involves finishing details — texture, lighting, and pattern. Our room-by-room design checklist gives first-time decorators a structured way to move from layout to those finishing decisions.

Author
Home & Garden Editorial Team
Home & Garden Editorial Team is the collective byline for our editorial team and contributor network. Articles published under this byline or an editorial pen name are researched, written, and reviewed according to our editorial standards for clarity, consistency, and independence before publication.
View all articles →