
Building a Compost Heap in a Small Garden
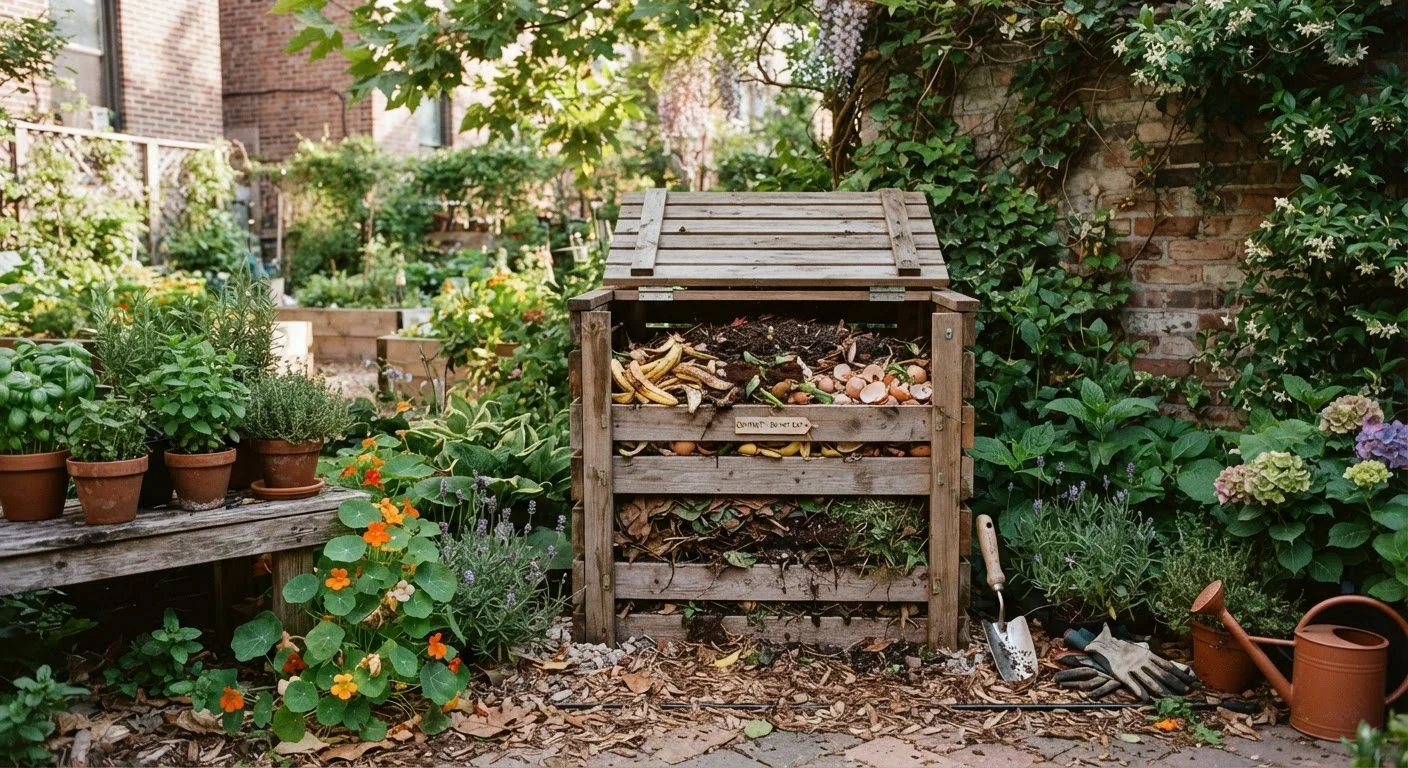
Photo credit: faqsnest.com
In this article
Even compact gardens can support composting. Follow these practical steps to set up and maintain a working compost system in limited space.
Key Takeaways
- A compost heap can work effectively in as little as one square meter of garden space.
- Balancing green and brown materials prevents odors and speeds decomposition.
- Moisture and aeration are the two factors most beginners neglect — both are straightforward to manage.
- Finished compost typically takes 3–6 months depending on materials and turning frequency.
- Small-space formats like tumbler bins or wire cylinders suit restricted gardens well.
Why Small Gardens Are Still Composting Gardens
The assumption that composting demands a sprawling plot is one of the most persistent myths in home gardening. In practice, a productive heap needs only about one square meter of ground — roughly the footprint of a large armchair. That's enough to process household kitchen scraps and garden trimmings into rich, dark compost that improves soil structure, feeds beneficial organisms, and reduces the amount of organic waste sent to landfill.
If you're already growing in pots or raised beds, compost is especially valuable. Container growing depletes potting mix nutrients quickly, and homemade compost is one of the most cost-effective ways to replenish them. Similarly, anyone starting a vegetable garden will find that even a modest compost supply dramatically improves first-year soil quality.
Before you build anything, consider where you want finished compost to go and how much organic waste your household generates weekly. This shapes the size and style of system that makes sense for your space.
Choosing the Right Composting Format
For small gardens, you have three practical options:
- Enclosed plastic or tumbler bin: Neat, pest-resistant, and suitable for urban gardens with close neighbors. Tumblers speed decomposition because turning is easier and heat builds more consistently inside the drum.
- Wire cylinder: Inexpensive and easy to construct. A circle of chicken wire or hardware cloth about 90 cm in diameter and 90 cm tall holds enough material to generate useful heat while taking up minimal ground space. It can be lifted off for turning or harvesting.
- Wooden slatted bin: A single-bay wooden frame with removable front slats gives good airflow, looks tidy, and can be built to fit an awkward corner or fence line.
Avoid placing any system directly against a wooden fence — moisture and heat can accelerate timber decay. A gap of 10–15 cm improves airflow on all sides and protects structures. For gardens already working with limited square footage, thoughtful outdoor design can incorporate a compost station as a functional, discreet element rather than an afterthought.
What you will need
Building and Loading Your Heap
Once your bin or frame is in position, the layering process is straightforward. The goal is to alternate materials by their nutrient profile — commonly called greens and browns:
- Greens (nitrogen-rich): Fruit and vegetable peelings, coffee grounds, fresh grass clippings, plant trimmings
- Browns (carbon-rich): Cardboard torn into pieces, dry fallen leaves, straw, paper bags, woody prunings cut small
A rough ratio of two to three parts browns to one part greens by volume works well for most household inputs. Too many greens and the heap turns slimy and smells; too many browns and decomposition stalls. Neither problem is serious — both are corrected by adding more of whichever type is lacking and giving the pile a turn.
Choose and prepare your location
Select a spot that receives partial shade — too much direct sun dries the heap out quickly, while deep shade slows microbial activity. Level ground helps, and proximity to the kitchen reduces the effort of carrying scraps. If you're placing a bin on a paved surface, add a 5 cm base layer of wood chips or straw to encourage drainage and worm entry from below.
Lay a base layer of coarse browns
Start with a 10–15 cm layer of coarse, dry material — broken-up cardboard, straw, or woody prunings work well. This base improves drainage and allows air to circulate from below, which supports the aerobic bacteria that do most of the decomposition work.
Add your first green layer
Add 5–8 cm of green material on top of the base. Kitchen scraps such as vegetable peelings, fruit cores, and coffee grounds are ideal. Grass clippings work well but should be added in thin layers — thick clumps of fresh grass mat together and restrict airflow.
Continue layering and check moisture
Keep alternating green and brown layers as materials become available. After each new layer, check moisture by pressing a handful of material — it should feel damp but not dripping. In dry weather, water lightly with a can. In wet weather, cover the heap with a lid or a piece of old carpet to prevent waterlogging.
Turn the heap regularly
Every two to four weeks, use a garden fork to mix the outer material into the center and vice versa. This reintroduces oxygen, which accelerates microbial activity and prevents anaerobic (airless) conditions that produce unpleasant smells. Even a single weekly turn can halve the time to finished compost.
Harvest and use your finished compost
After roughly 3–6 months, the lower portion of the heap should be dark, crumbly, and smell earthy rather than like raw vegetation. Harvest this material by removing the front slats or lifting a wire cylinder, then scooping from the bottom. Return any partially decomposed material to the top of the heap to continue breaking down. Apply finished compost to beds in spring or autumn at a rate of 5–7 cm across the surface and work it in lightly.
Troubleshooting and Maintaining a Healthy Heap
Most compost problems have simple causes and equally simple fixes:
- Unpleasant smell
- Usually too many greens or too little airflow. Add browns, turn the heap, and ensure the bin isn't completely sealed.
- Nothing is breaking down
- The pile may be too dry, too small, or too heavy in carbon materials. Check moisture — the heap should feel like a wrung-out sponge — and add fresh green material to restart microbial activity.
- Pests or rodents
- Avoid adding cooked food, meat, dairy, or oily scraps. An enclosed bin with a solid base or a mesh-lined base discourages burrowing.
Finished compost looks dark, crumbly, and earthy-smelling — similar to very rich soil. It can be worked into planting beds, used as mulch around established plants, or mixed into potting soil. If you're growing in raised beds or in-ground plots, an annual top-dressing of finished compost is one of the most impactful things you can do for long-term soil health.
Speed Up Decomposition With an Activator
Adding a thin layer of garden soil, well-rotted manure, or commercially available compost activator every few layers introduces a concentrated dose of beneficial microbes. This is particularly helpful when starting a new heap in cooler months when microbial populations are naturally slower to establish. Nettles and comfrey leaves are free garden alternatives that serve a similar purpose.

Author
Home & Garden Editorial Team
Home & Garden Editorial Team is the collective byline for our editorial team and contributor network. Articles published under this byline or an editorial pen name are researched, written, and reviewed according to our editorial standards for clarity, consistency, and independence before publication.
View all articles →